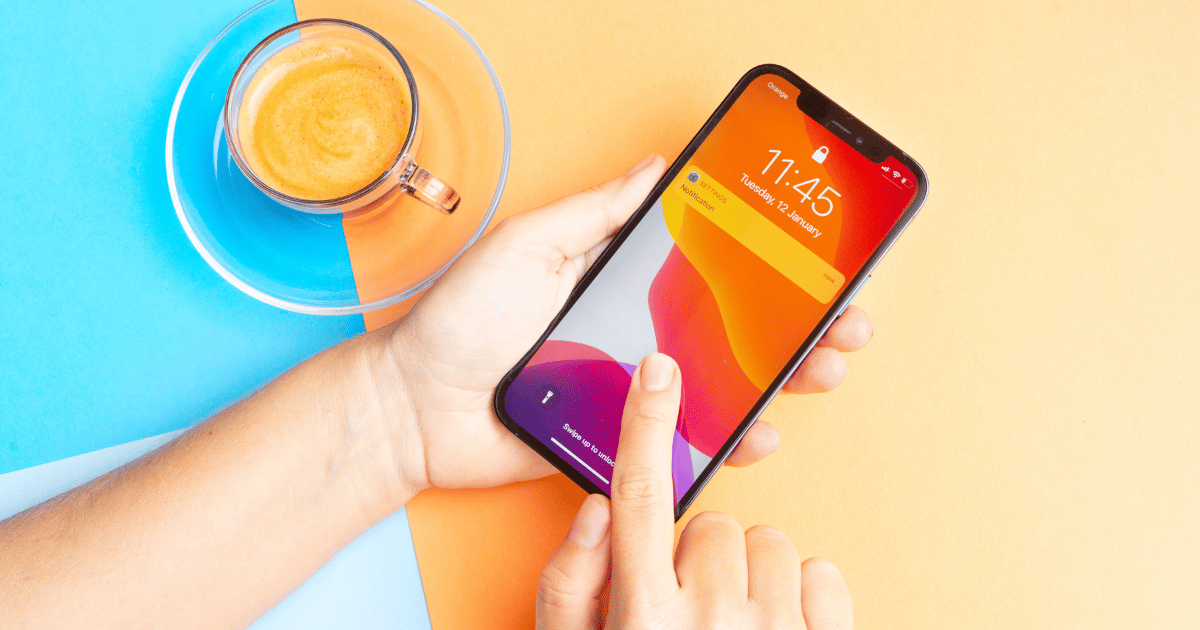

Making the jump from Android to iPhone? Welcome to the club. Whether you’re drawn to the sleek design, the promise of fewer bugs, or just curious what the fuss is about, moving to iOS doesn’t have to be a painful process. With the right tools and a little patience, the switch can be as smooth as your new iPhone’s screen. Here’s your no-stress, no-tears guide to crossing over.
Psst… if you're ready to make the leap, CelcomDigi has iPhone offers that make the move even sweeter. Great plans, easy upgrades, and no headaches. Just the way switching should be.
Before you do anything else, take a few moments to prepare your Android device for the move. This means:
Apple has made life easier with its Move to iOS app — a free tool available on the Google Play Store. It helps you transfer most of your key data in one go, including:
Here’s how to use it:
Note: Apps themselves won’t transfer, but the iPhone will suggest downloading their iOS equivalents if available.
If you use WhatsApp, you’ll want to keep your chat history. Fortunately, WhatsApp now supports chat migration from Android to iPhone, but there are some conditions:
During the Move to iOS transfer, WhatsApp will appear as an option. Once the process is complete, open WhatsApp on your iPhone and verify your number. Your chat history should then appear.
Tip: This only works during initial iPhone setup — you can’t do it afterwards.
As mentioned earlier, Android apps won’t automatically appear on your iPhone. You’ll need to:
Some apps may not exist in the iOS ecosystem, so look for alternatives if needed. Most major services (Spotify, Instagram, Netflix, etc.) are cross-platform and work the same on both devices.
To complete the transition, make sure your key services are connected:
If you're planning to fully switch to Apple’s ecosystem, consider enabling iCloud, Apple Photos, Apple Music, and other built-in services to keep everything in sync.
You’ve landed — now it’s time to make the iPhone feel like yours. iOS has a different approach to things like app permissions, notifications, and privacy controls. Spend some time customising.
Also, don’t miss out on:
It might feel unfamiliar at first, but many users find iOS settings more streamlined once they’ve adjusted. Give it a week. Once your fingers adjust, it’ll feel completely natural.
Making the move to iPhone might feel like a big switch, but it’s easier than it looks, especially with a little help from Apple’s built-in tools and a bit of prep on your end. Sure, some things will take getting used to, but iOS tends to grow on people fast — especially if you're dipping into the rest of the Apple ecosystem.
Whether you're after tighter privacy, a more seamless experience, or just feel like shaking things up, this guide’s got you covered. Follow the steps, trust the process, and you’ll be swiping away on your new iPhone in no time — stress-free.


By submitting this subscription request, I consent to altHR sending me marketing communication via email. I may opt out at any time. View CelcomDigi's Privacy Policy.
© Copyright 2025 CelcomDigi Berhad [Registration No. 199701009694 (425190-X)]. All Rights Reserved.